[Mac] How to Install and Use Printer Logic
Safari is not a supported web browser for using Printer Logic
1. Open the Manager app from your dock or from Finder>Applications
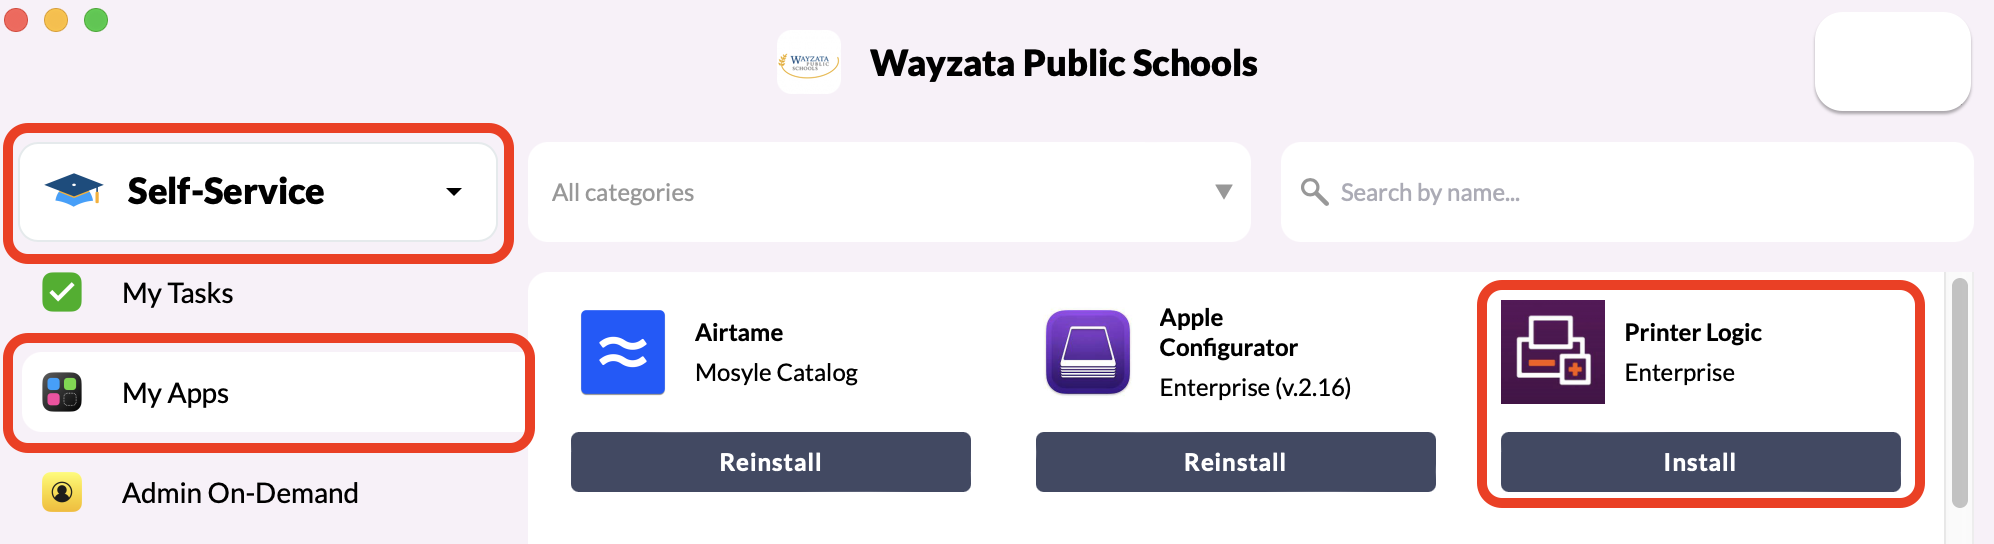
 2. Click on "Self-Service," the "My Apps" category on the left, and then install on "Printer Logic for Apple Silicon Macs"
 3. When the installation completes, you will see the printer logic icon visible in the top menu bar.
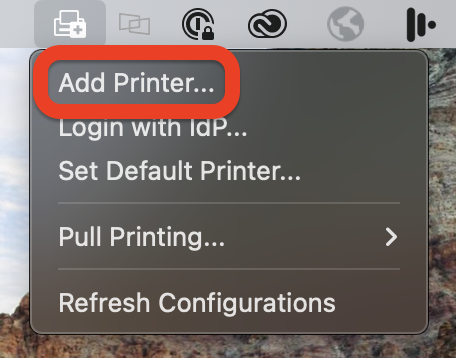
 4. Click on the Printer Logic icon and choose "Add printer"
 5. This will open your default browser and if you are prompted to install an extension in your browser, click to install it. After the extension installs or if you are currently signed into myapps.microsoft.com, you will see the screen shown at right next.
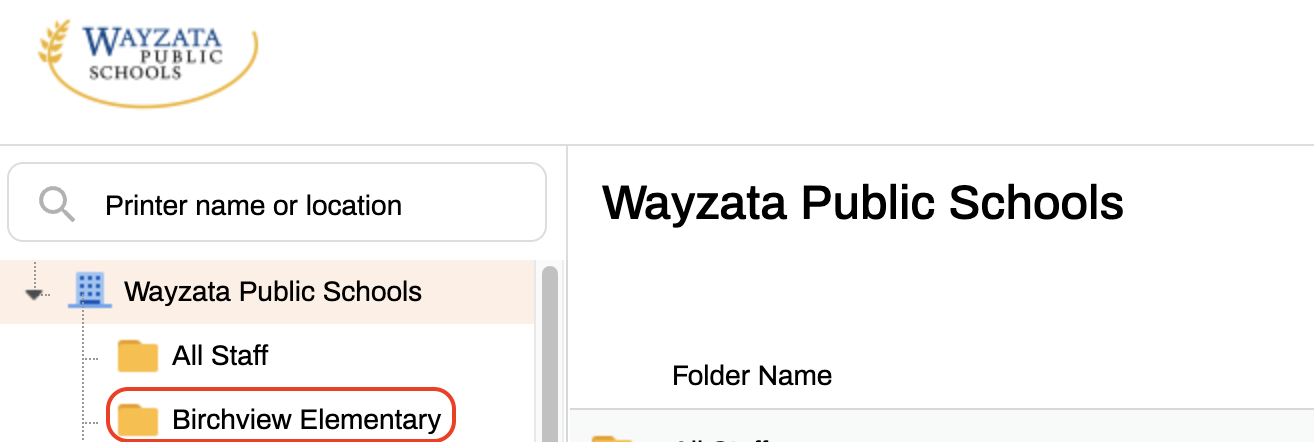
 6. After clicking the "Add Printer" button from step 5, you will now see in your browser a folder for your building.
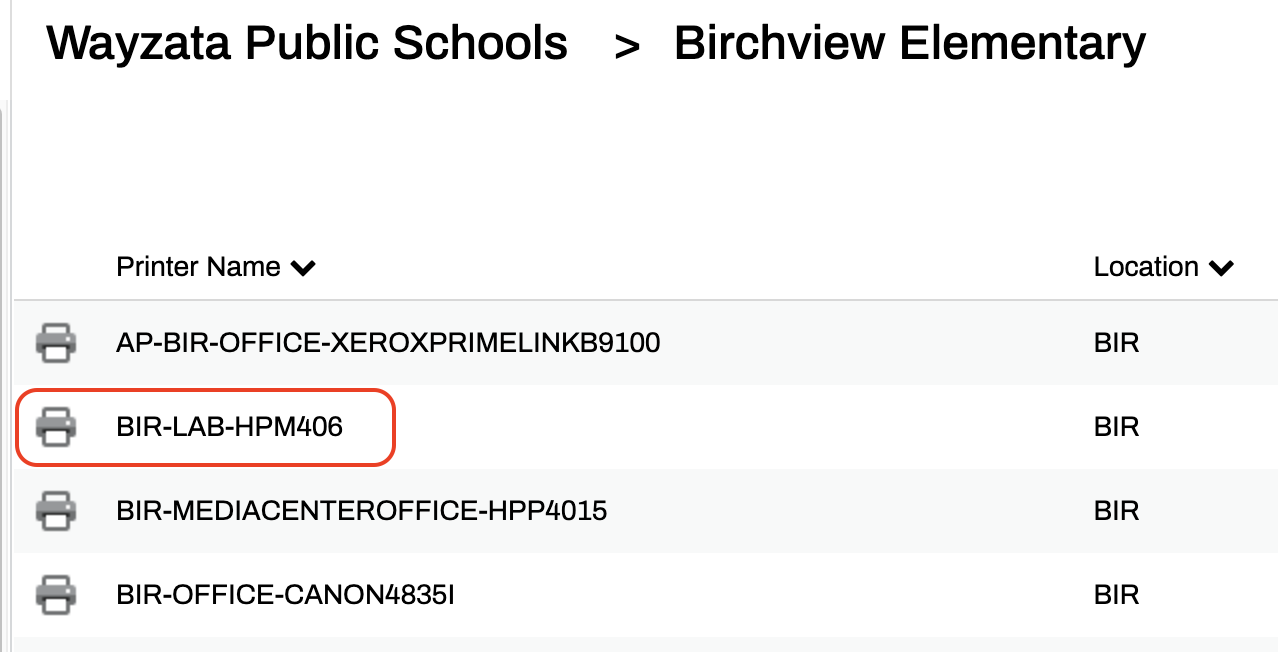
 7. Click once on a printer in your building you want to install
- This step can take up to a minute to complete. Please be patient!
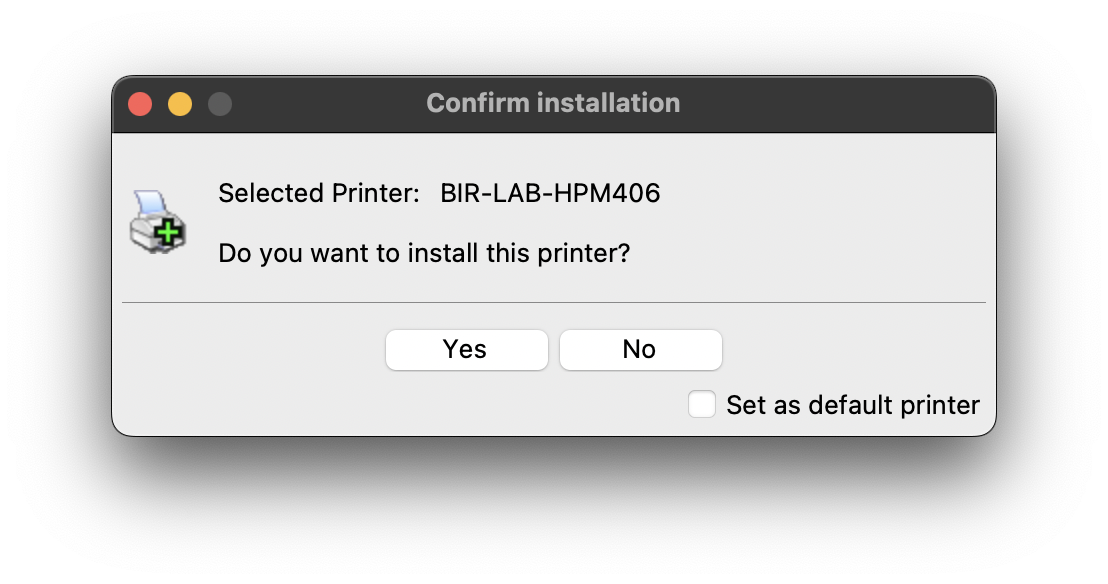
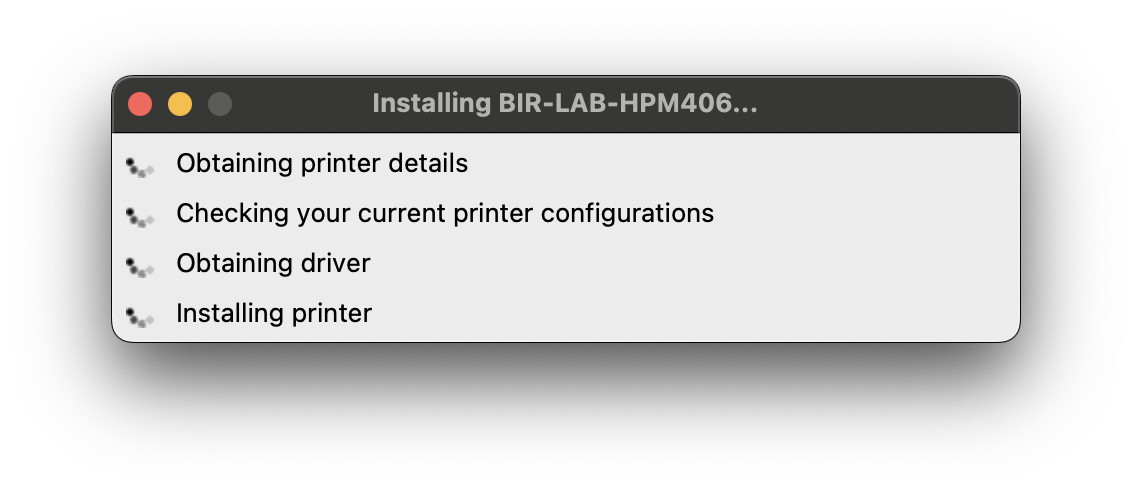
 8. The following series of prompts will take about 2 minutes to complete. Choose "Yes" when prompted to install.
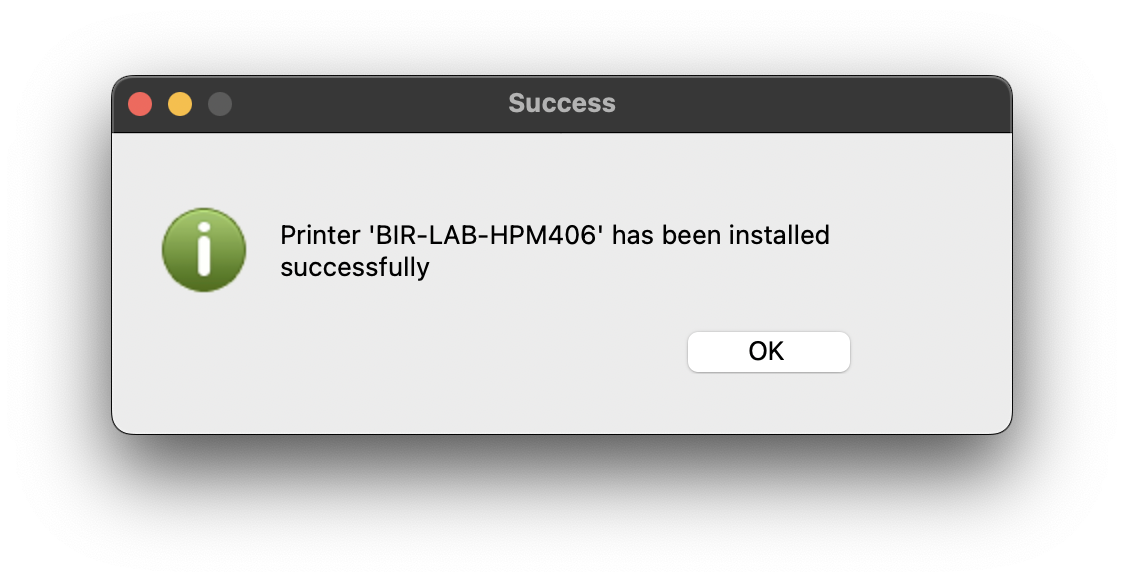
 9. Click "OK"
- If you receive a message saying "this printer is already installed", continue to step 10
 10. If needed, choose the destination of the print job and click on Print.
For some users, the following may be applicable:
When printing to specific printers, the print will be 'held' by the printer system.
You will need to 'release' your print job by using a computer or a mobile app as shown below:
- Mac Print Release Method:
- Click the Printer Logic icon from the top menu bar
- Then go to Pull Printing>Print Job Management as shown at right
- iPad App Release: follow steps 14-16 (Regular print release) or 18-20 (QR code release) on this article: Link
 Print Job Release Process Video